
Start With the Right Plate, Blank and Job Sheet
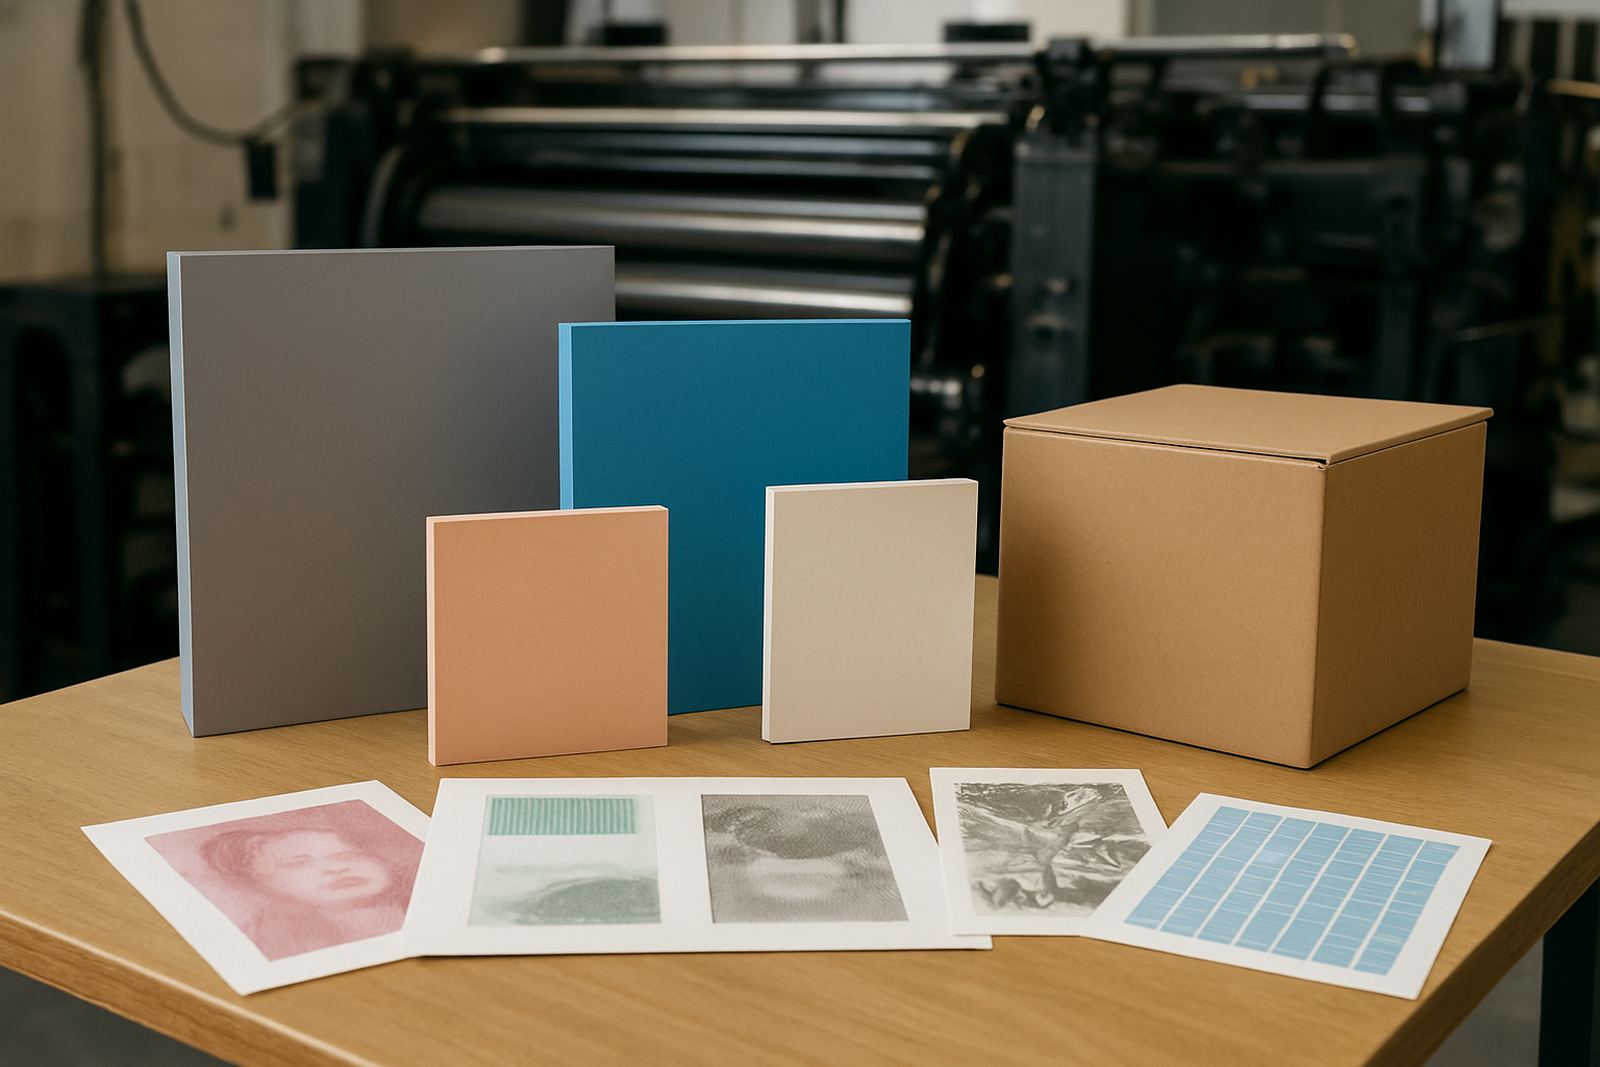
Before you touch the press, confirm the plate type, thickness and coating are correct for the job. A mixed stack in the packing area causes avoidable delays, and on a busy shift that usually means lost time at make-ready. Check the job sheet against the plate count, side, image position and any special notes for folding, coating or finishing.
In Johannesburg and the surrounding areas we still see issues caused by poor storage and rough handling. Plates that have picked up dust, fingerprints or moisture from a warm store room can shift at the clamps or mark during startup. If your site runs near Roodepoort, Midrand or Germiston, keep plates in a dry, clean area away from direct sun and forklift traffic.
- Confirm plate size, thickness and quantity before moving to press.
- Check the image orientation and plate side against the job card.
- Inspect for dents, scuffs, curl and contamination.
- Plates belong on a raised, dry rack, never straight on the concrete.
Prepare the Press Side Before Mounting Begins
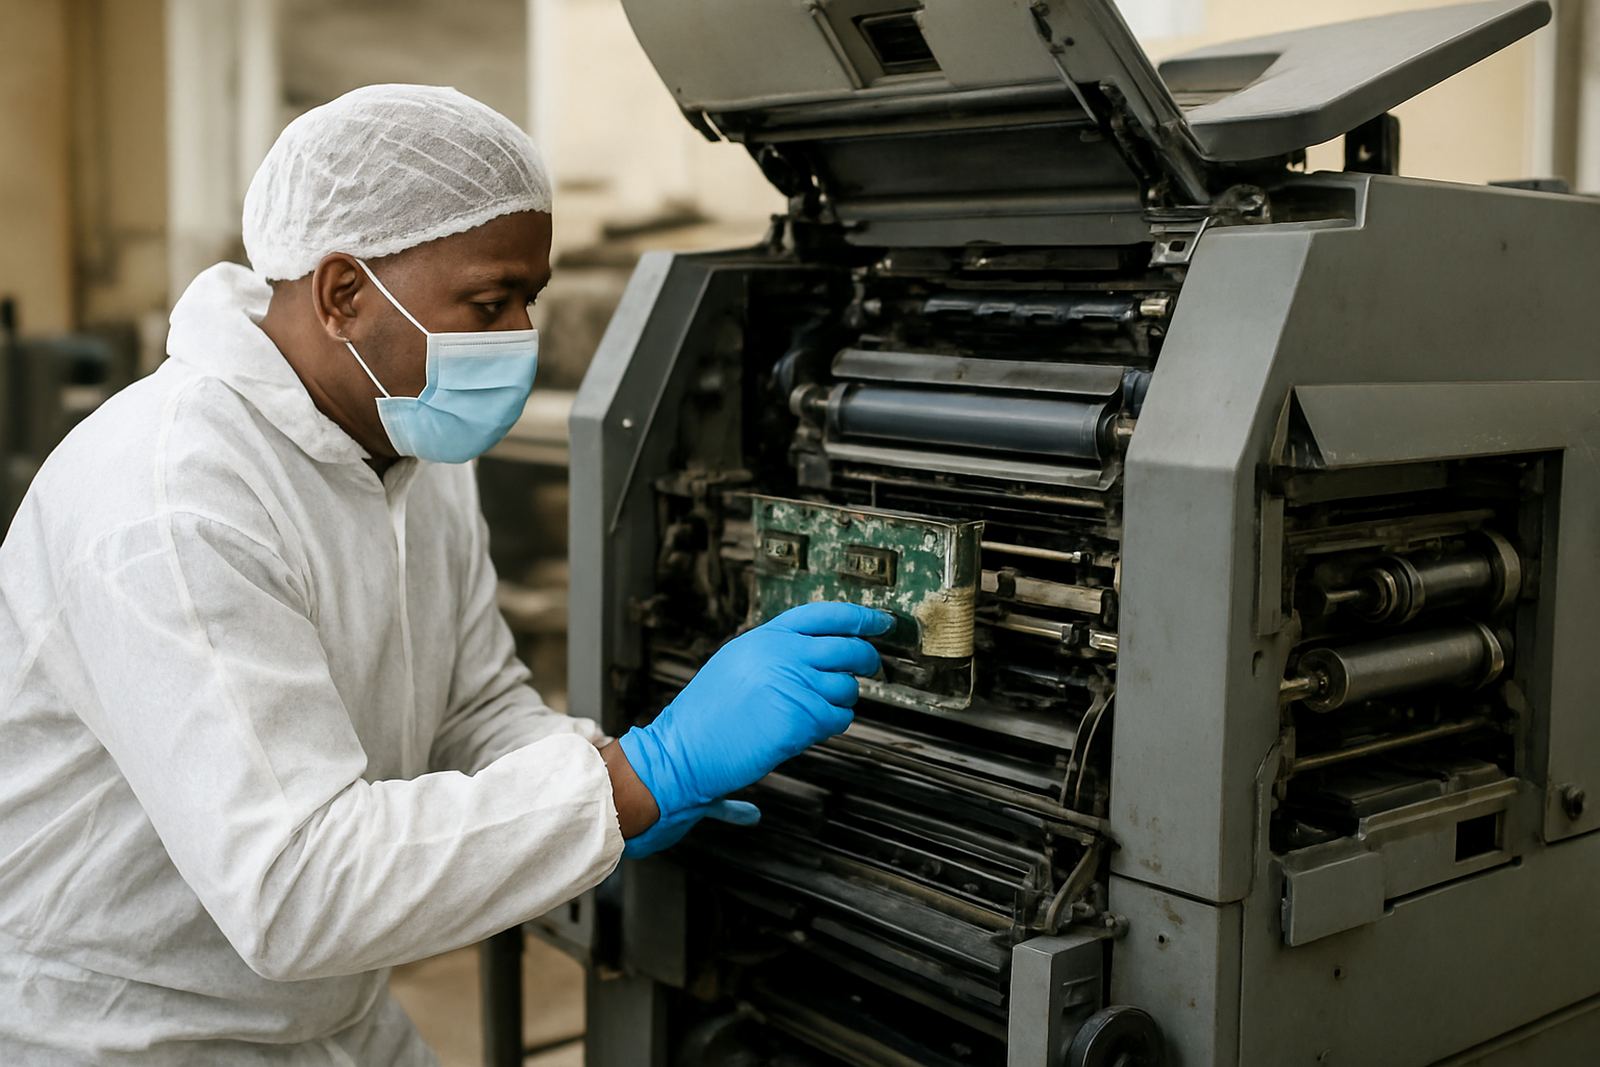
A clean press side makes accurate mounting much easier. Wipe down the cylinder, clamps and guide areas so that adhesive residue, paper dust and old tape do not throw the plate off line. If the press has stood for a while, allow enough time to check the press again after restart. Temperature changes can affect alignment and tension more than people expect.
Set out the mounting tools, tape, cloths and waste bin before the first plate comes off the pack. That keeps the operator from leaving the press mid-task and protects the plate edges from knocks. If the machine has had recent blanket changes or blanket assessment work, make sure those settings are already signed off before plate fitting starts.
- Clean clamps, cylinder surfaces and guides thoroughly.
- Lock out the press before anyone reaches in.
- Lay out tape, cloths, cutting tools and registration references.
- Review any recent startup notes, repairs or wash programme changes.
Align the Plate to the Register Marks and Clamp Evenly
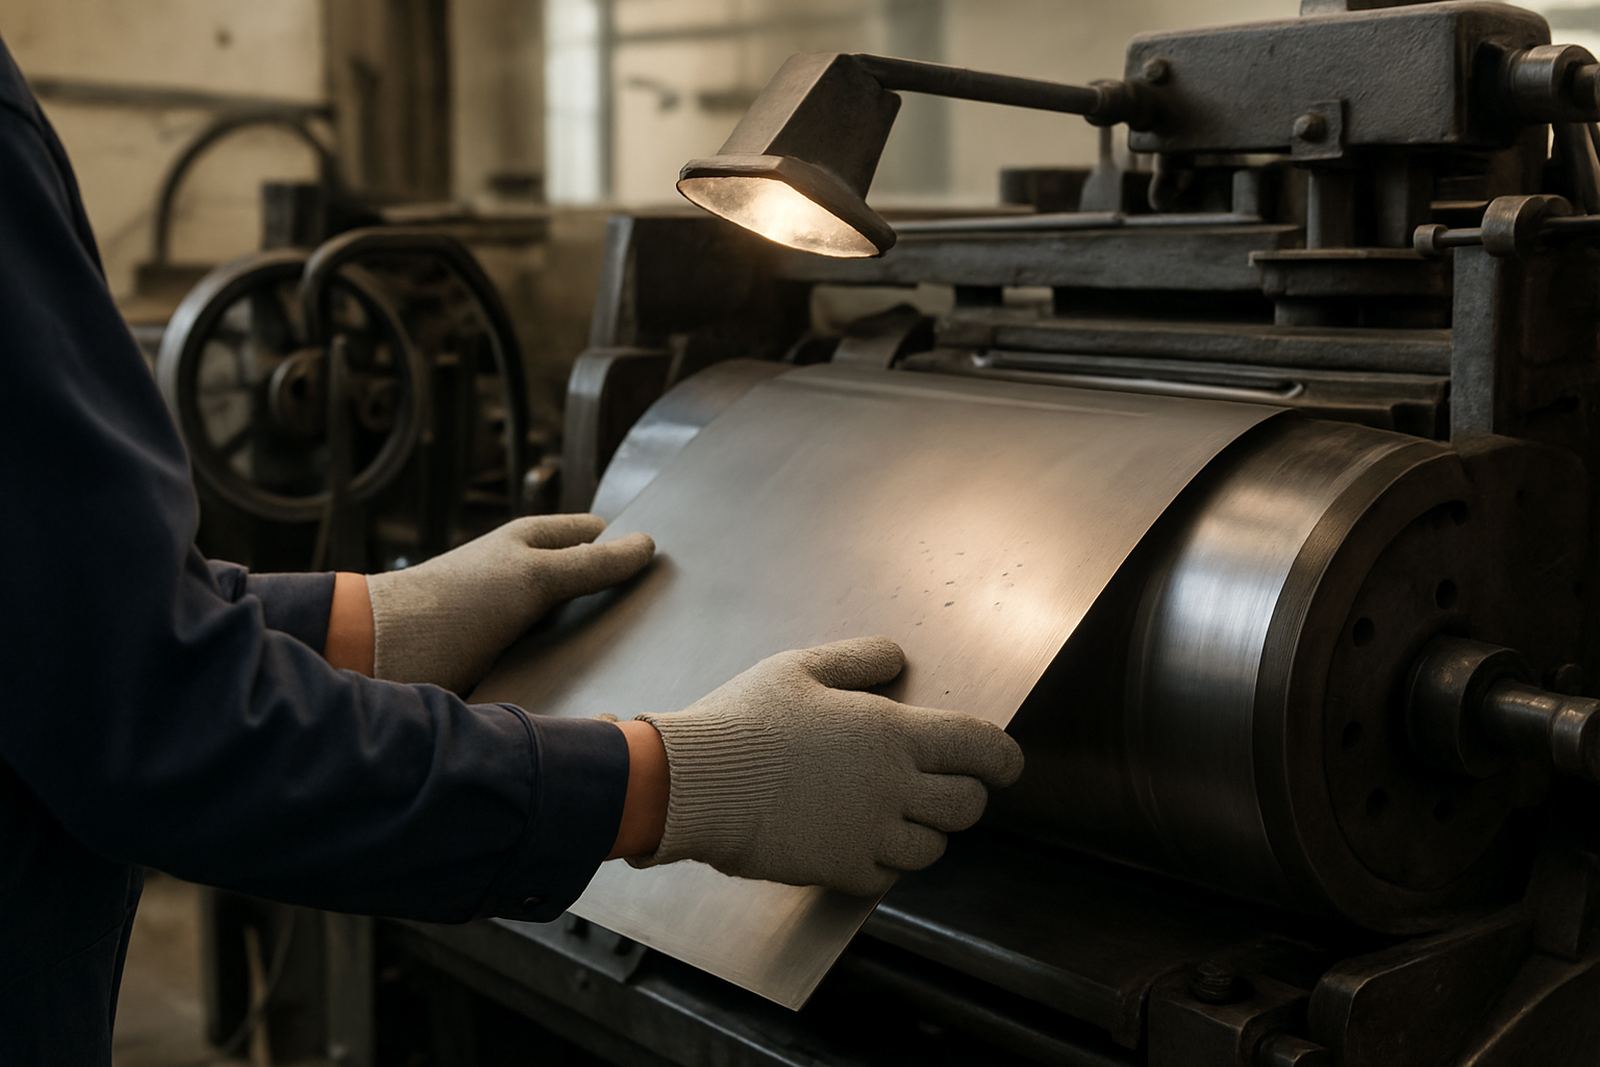
When mounting, place the plate square to the cylinder and align it to the register marks with steady hand pressure. Start from the leading edge and work towards the clamps so that the plate does not twist. If the job uses multiple units, keep the same mounting routine on every unit. Consistency matters when you are chasing colour balance and front to back register.
Do not force a plate into position if the clamp is tight or the edge is sitting proud. Stop and check the clamp opening, the plate edge and the mounting strip. A plate that looks acceptable at 5 metres can still move once speed goes up, so take the extra minute at the beginning rather than fight register later. Small errors here become bigger once the paper is running.
- Seat the plate squarely before tightening the clamp.
- Check both ends for equal tension and no lift.
- Use the same reference point on each unit.
- Recheck after hand rotation of the cylinder.
Check Register by Hand Before Full Press Speed
After the plate is mounted, rotate the press by hand or inching mode and inspect the register points. Look for image shift, side lay movement and any plate edge lift. This is where a good operator catches a problem before it becomes a spoilage run. If the press is working in hot, dry conditions inland, or in humid summer weeks, plate movement can differ from one shift to the next.
Make one small correction at a time and record what was adjusted. This helps when the same job comes back later and the crew needs a fast restart. If the press shows a repeated register issue, check the plate, blanket, packing and feeder set-up before blaming the image. A careful check now saves paper, chemistry and overtime later.
- Inch the press and inspect all register marks.
- Look for plate lift, twist or edge damage.
- Adjust one point at a time and note every change.
- Confirm that the blanket and packing are correct for the job.
Handle Plates Safely During Changeovers and Wash-Downs
Plate handling is not only about mounting, it is also about removal and storage. When a job changes, take the plate off cleanly, wipe off residue and store it flat if it will be reused or kept for reference. Bent plates and crushed edges are common after rushed changeovers. On multi-shift sites, label removed plates clearly so the night team does not spend time guessing what belongs where.
Wash-down routines must suit the chemistry in use and the type of plate on the machine. Too much water or the wrong cleaner can affect the image area or attack tapes and adhesives. If your team is balancing chemistry, servicing a processor or reviewing wash programmes, link that work to plate handling so the whole line stays stable.
- Remove plates carefully to avoid edge damage.
- Wipe and label removed plates before storage.
- Keep cleaning materials matched to the plate system.
- Dispose of damaged plates in a controlled area.
Use a Short Checklist for Every Mounting Job
A simple checklist makes a strong difference on busy production floors in Pretoria, Randburg or Industria West. It keeps the team focused and gives supervisors a way to spot patterns when jobs keep missing register or starting up slowly. Use the same checklist every time so that nothing gets skipped when the pressure is on.
This is especially useful for shops that run offset, flexo and finishing work from the same floor. With different plates, different clamps and different turnaround times, one missed step can slow the whole line. A checklist also helps with training new staff, because plate mounting is easier to teach when the sequence stays the same.
- Job confirmed and plate type checked.
- Press side cleaned and safe to work on.
- Plate aligned, clamped and tension checked.
- Register inspected by hand before full speed.
- Notes recorded for next run or repeat job.
Calling for Help While the Run Is Still Recoverable
If plates keep slipping, register keeps moving or startup takes too long, call for technical help before the job starts costing paper and time. In many cases the issue is not only the plate, but the way the plate, blanket, chemistry and press settings are working together. A quick review can settle the root cause and keep production on track.
From our base in Industria West, Johannesburg, we support plate and press supply across South Africa, with practical help for plate selection, mounting issues, press startup and supply planning. Whether the job is running in Midrand, Germiston or further afield, the aim is the same: safer mounting, better register and fewer stoppages. For advice, write to us through the contact form listing the job, the plate type and the fault you are seeing.